
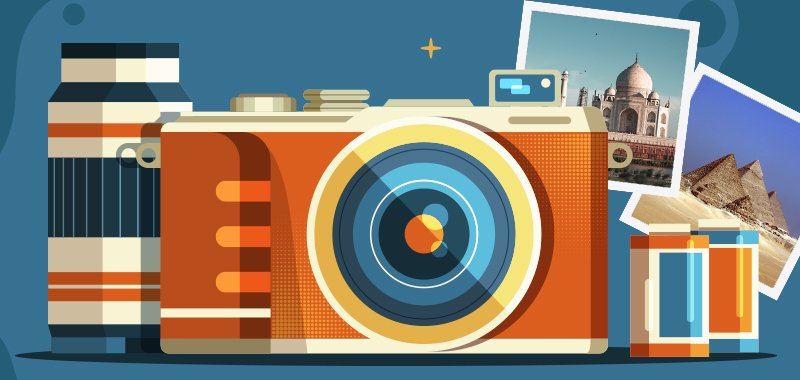
Today, high-quality photos of rare natural moments, scenes, and humans are being peddled on decentralized networks for monetary gains in the form NFTs. So if you’ve landed here you’re probably wondering how to sell your photos as an NFT.
First thing’s first though and that is…
What the Heck is an NFT?
Non-Fungible Tokens –NFTs– are tokens om the blockchain with unique metadata, representing a digital or physical item. NFTs can be anything from avatars, music, and domain names, to a piece of art, GIFs, animations, videos, photos, etc.
This made NFTs a gigantic industry for artists of various forms, including photographers. NFTs have paved another way for photographers to monetize their profession and passion.
How?
By minting their photos as NFTs and listing them for sales on NFT marketplaces.
How Do You Create a Photo NFT?
Minting involves uploading your photos as digital files on a blockchain network where it is recorded on a tamper-proof ledger called DLT –Decentralized/Distributed ledger technology.
After minting, NFTs can be sold in exchange for cryptocurrencies which are paid to your crypto wallet and subsequently exchanged for fiat currencies.
How to Sell Your Photos as NFTs
Minting and selling your photos as NFTs is pretty simple; below is a step by step guide.
1. Select a blockchain network
There are several blockchain networks, but not all are suitable for minting NFTs. For a blockchain to be compatible with NFTs, it must be a blockchain that has a smart contract. The smart contract unlocks many features of NFTs, including buying and selling. Examples of notable blockchains compatible with NFTs are:
- Ethereum
- Binance Smart Chain
- Solana
- Polkadot
- Tezos
- Flow
2. Set up a Cryptocurrency Wallet compatible with your choice of blockchain
Crypto wallets are digital wallets that store fungible and non-fungible digital tokens. Fungible tokens are the cryptocurrencies, while non-fungibles are NFTs. Both tokens can be held or stored in the same wallet.
Since the most common network for NFTs is Ethereum, the compatible wallets include MetaMask, TrustWallet, WalletConnect, and Coinbase wallet. The wallets mentioned above are non-custodial, i.e., they are not hosted on any crypto exchange platform.
If you’re choosing other blockchains, make sure to research which wallet is best suited for that particular blockchain.
3. Add cryptocurrency to your wallet
After setting up your wallet, the next is to add cryptocurrency to your wallet. This can be done by buying compatible crypto from exchange platforms and sending it to your wallet.
Depending on your geographic location, you can purchase crypto directly from your wallet using your credit card or other means. If you’re using the Ethereum blockchain, you should buy or deposit ETH –Ether – which will be used to offset gas fees.
4. Select your NFT marketplace
Marketplaces are special open markets where NFTs are listed for sale. There are several NFT marketplaces, but the suitable ones for photo listing include:
- OpenSea
- Quantum Art
- Nifty Gateway
- Ephimera
- Rarible
- Unique One Photo
- Mintable
- Foundation
- Portion.io
- SuperRare
5. Connect your crypto wallet to your preferred marketplace
Connecting your wallet to the preferred marketplace begins with setting up an account with personal details and signing in to the account. Then you can click on your profile to connect your wallet.
Let’s take OpenSea as an example:
- Click on OpenSea and click on the “profile icon” at the top right corner, then click the profile option.
- A page will pop up where you’ll be asked to connect with your wallet.

- Select your preferred wallet by clicking on it. In this instance, let’s use MetaMask.
- If you have MetaMask extension on your PC, this will be easier. The extension will pop up in your MetaMask wallet as shown below, then click on the “Next” tab.

- You’ll be redirected back to the OpenSea page with the notification below. Then you click on the “Accept and sign” tab.

- You’ll be redirected back to your MetaMask wallet with a notification asking you to sign a request to add your wallet to OpenSea and accept OpenSea’s Terms of service. Then you click on the “Sign” tab.

- Then you’ll be redirected to your OpenSea account.
6. Create your photo NFT
After setting up your OpenSea account, the next is to get into action by creating your photo NFT.
- Click on the “Create” at the top right corner of your OpenSea account page.

- You’ll be provided fields to upload your photos and other details on the following page. The maximum size of your photo should be 100MB.

- Input your photo name, e.g., “Florida Sky,” in the name field.
- The external link is not compulsory, but if you have a link to your portfolio or website that leads to your content, you can include it here.
- The “Description” field is meant for a detailed description of your photo.

- The “Collection” field is meant for the category of your NFT; in this case, your collection is a photo.
- Turning on the “Unlockable Content” allows you to include additional content to your NFT, like a file link, code to redeem, access key, etc.
- If, according to you, your photo is explicit and sensitive, you can turn on the “Explicit & Sensitive Content” as shown below to notify potential buyers.
- The “Supply” field is meant for the number of photos you want to generate. For a start, one is okay; you can later start minting in collections.

- Next is to select your preferred blockchain network; aside from Ethereum, Klaytn, Polygon, and Solana are compatible.
- You can freeze your metadata if you want your photo NFT details to be stored on immutable decentralized storage where they can be accessible to others to view and use.
- Then click on the “Create” tab to create your photo NFT.
- You’ll be asked to verify you’re not a robot via captcha verification. You will be notified of what you’ve just created if successfully verified. You can share your photo for marketing via Facebook, Twitter, and Telegram by clicking on their icons or copying the direct link to your photo and start sharing it among your peers.

7. List your photo NFT on the marketplace
After successfully creating your photo NFT, the next is to list it on the marketplace, but before you do that, you must do the following:
- First is to click on the “Sell” tab at the top right corner of your PC as indicated below.

- Then input the listing details of your photo NFT. There are two listing options; Fixed Price and Timed Auction.

- For the “Fixed Price” option, you have to set a fixed price and the duration you want your listing to last –from one day to six months. Or you can select your date and time from the calendar option.
- Then click on the “Complete listing” tab.
- The “Timed Auction” option opens your photo bidding, favoring the highest bidder in most cases.
- Listing is free, but the 2.5% service charge will be deducted once your photo is sold.
- Clicking on the “Complete listing” tab shows an overview of your photo with a message to approve your list from your wallet. This also pops up in your wallet tab, where you’ll click on the “SIGN” tab to approve your listing.


- Then you’ll receive a notification on your OpenSea page that your photo has been listed in the marketplace.

Source NFT Plazas
